ルーティングの記述場所と設定の確認方法
Railsアプリケーションで使われるルーティングに関する設定を記述する場所について解説します。また設定したルーティングを確認する手順についても合わせて解説いたします。
(Last modified: )
ルーティングを記述するファイル
ルーティングの設定を記述するファイルはRailsアプリケーションを作成すると自動的に作成される「config/routes.rb」ファイルに記述します。実際にRailsアプリケーションを1つ作成して確認してみます。
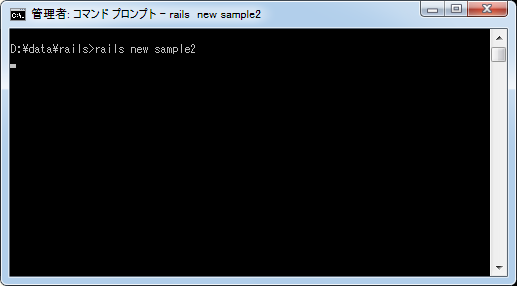
次のようにテスト用の「sample2」アプリケーションを作成します。
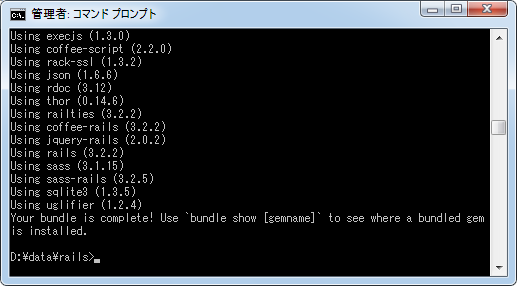
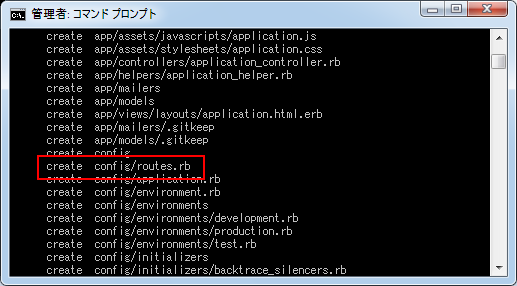
Railsアプリケーション作成時に数多くのファイルが自動的に作成されますが、その中でルーティングに関する設定を記述する「config/routes.rb」ファイルも作成されています。
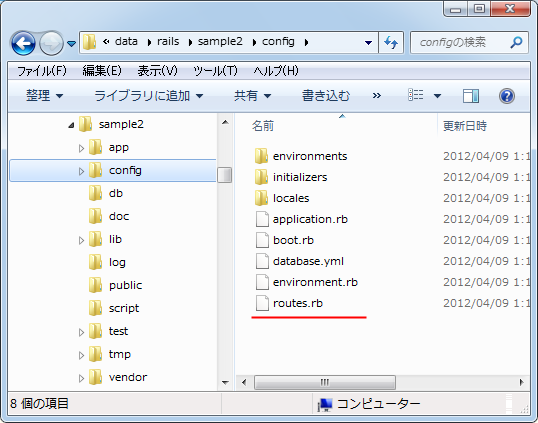
実際にファイルが作成されていることが確認できます。
「routes.rb」ファイルは拡張子からも分かる通りRubyで記述されたスクリプトファイルです。中身を確認するためテキストエディタで開いてみます。
Sample2::Application.routes.draw do
  # The priority is based upon order of creation:
  # first created -> highest priority.

  # Sample of regular route:
  #   match 'products/:id' => 'catalog#view'
  # Keep in mind you can assign values other than :controller and :action

  # Sample of named route:
  #   match 'products/:id/purchase' => 'catalog#purchase', :as => :purchase
  # This route can be invoked with purchase_url(:id => product.id)

  # Sample resource route (maps HTTP verbs to controller actions automatically):
  #   resources :products

  # Sample resource route with options:
  #   resources :products do
  #     member do
  #       get 'short'
  #       post 'toggle'
  #     end
  #
  #     collection do
  #       get 'sold'
  #     end
  #   end

  # Sample resource route with sub-resources:
  #   resources :products do
  #     resources :comments, :sales
  #     resource :seller
  #   end

  # Sample resource route with more complex sub-resources
  #   resources :products do
  #     resources :comments
  #     resources :sales do
  #       get 'recent', :on => :collection
  #     end
  #   end

  # Sample resource route within a namespace:
  #   namespace :admin do
  #     # Directs /admin/products/* to Admin::ProductsController
  #     # (app/controllers/admin/products_controller.rb)
  #     resources :products
  #   end

  # You can have the root of your site routed with "root"
  # just remember to delete public/index.html.
  # root :to => 'welcome#index'

  # See how all your routes lay out with "rake routes"

  # This is a legacy wild controller route that's not recommended for RESTful applications.
  # Note: This route will make all actions in every controller accessible via GET requests.
  # match ':controller(/:action(/:id))(.:format)'
end
「#」で始まる行はコメント行です。ルーティングの記述方法のサンプルがコメントとして記述されています。コメント部分を全て削除してみると次のとおりです。
Sample2::Application.routes.draw do

end
このようにコメント行を除いてみるとデフォルトでは何も設定がされていないことが分かります。ここに例えば次のようにルーティングに関する設定を書き込んでいくことになります。
Sample2::Application.routes.draw do

  match 'products/:id' => 'catalog#view'

  resources :products

end
次のページ以降でルーティングの色々な記述方法について解説していきます。
なおRailsでは利用者からのリクエストを表すURLからどのコントローラのアクションを実行するのかを判断します。そのURLとアクションを結びつけるルールがルーティングです。そのルールを「routes.rb」に記述していくわけですが、複数のルールが記述されていた場合は上から順に一致するものがないか確認を行います。見つかった時点でアクションが呼び出されますので、より上に書かれた設定ほど優先順位が高い設定ということになります。
設定したルーティングの確認方法
「routes.rb」ファイルに記述されたルーティングに関する設定は、次のコマンドを実行することでいつでも確認することができます。
rake routes
では実際に試してみます。先程作成した「sample2」アプリケーションのルートに移動し、「rake routes」と実行してみます。
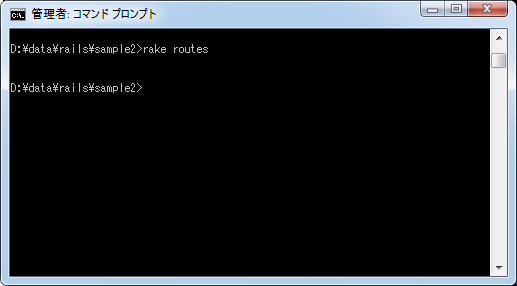
現在はルーティングに関する設定を何も記述していないので上記のように何も表示されません。では挙動を確認するためにて「config/routes.rb」ファイルに例とし次のように記述してみます。
Sample2::Application.routes.draw do

  match ':controller(/:action(/:id))(.:format)'

end
ファイルを保存した後で改めて「rake routes」コマンドを実行して下さい。
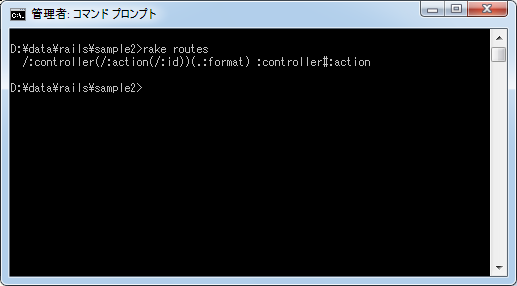
今度はルーティングに関する設定が記述されているため、現在設定されているルーティング情報が表示されました。
このように簡単なコマンドを実行することで設定されているルーティングに関する設定を確認することができます。
( Written by Tatsuo Ikura )

著者 / TATSUO IKURA
これから IT 関連の知識を学ばれる方を対象に、色々な言語でのプログラミング方法や関連する技術、開発環境構築などに関する解説サイトを運営しています。